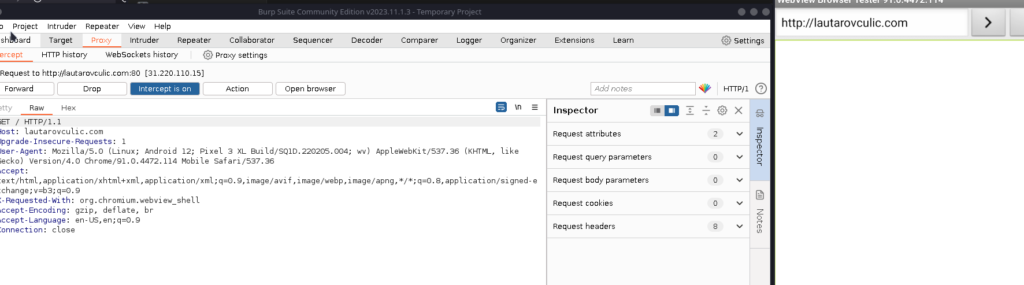
You can follow some guide for setup burpsuite in your machine, configure browser with foxyproxy or your preferred method.
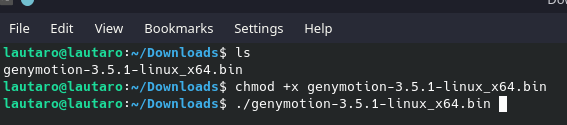
Once genymotion is installed, we are going to run it with
chmod +x genymotion-3.5.1-linux_x64.bin
./genymotion-3.5.1-linux_x64.bin
We will have a folder “genymotion”.
Inside, run
./genymotion
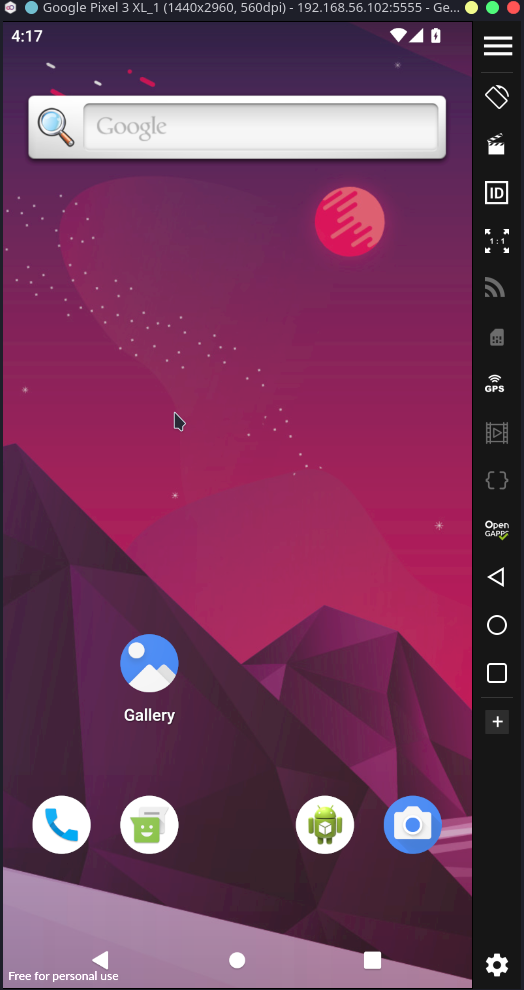
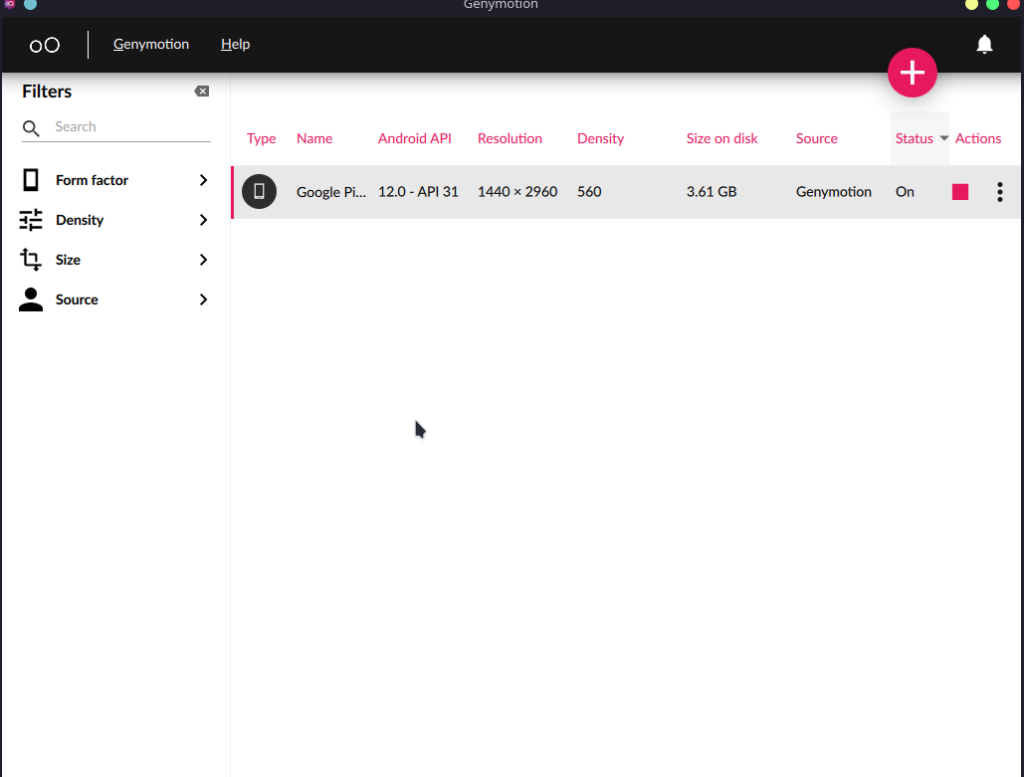
Create an account and device with this characteristic: 2 or 3 GB RAM, 4 Cores and 4GB Disk. Pixel 3 XL running Android 12 (API 31)
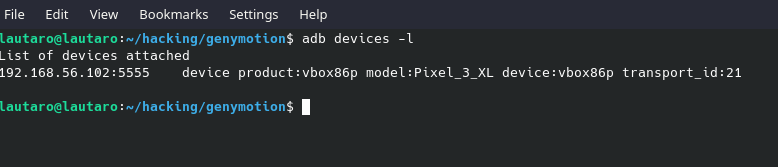
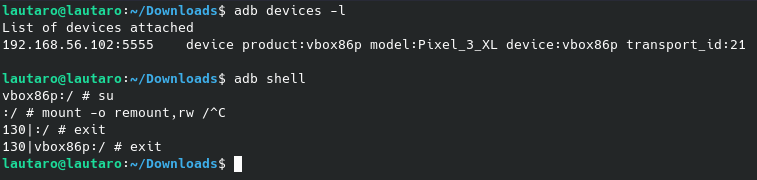
Now, we have all setup. It’s ADB time. If we run “adb devices -l” we will see like this:
adb devices -l
Now it’s time to setup our certificate.
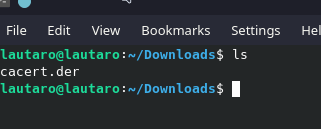
And, with burpsuite running in background, we download the same certificate that we import in the browser. (http://brup)
Or just:
curl localhost:8080/cert -o cacert.der
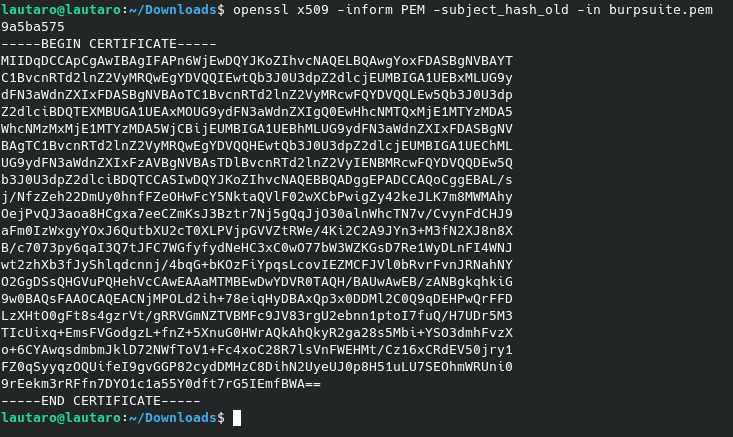
Now, we will use openssl for change the format from .der to .pem
Why?
The decision to use PEM format certificates in Android is primarily driven by the readability, ease of editing, and broad compatibility that this format provides in the Android security and development ecosystem.
So, we will exchange the format with:
openssl x509 -inform der -in cacert.der -out burpsuite.pem
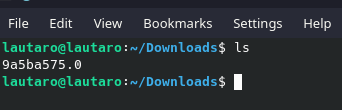
Now we need get the PEM cert hash -hash-.0 for Android. But, why?
When you convert a PEM certificate to a -hash-.0 file in Android, it’s for the system to recognize and use it. Android expects certificates in this format, stored in /system/etc/security/cacerts/. The -hash- refers to the certificate’s hash for uniqueness. Placing it there allows Android to use it for secure connections and other security operations. It’s a necessary step for proper integration and functionality on Android.
But, we need configure the proxy. We can do that with the following command for avoid the normal configuration vía wifi:
adb shell settings put global http_proxy <our local IP machine>:8080
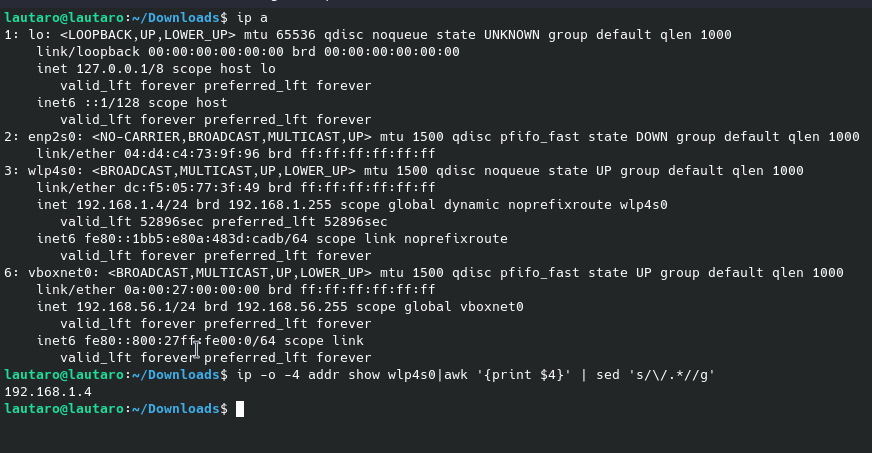
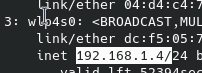
In this case, my IP is 192.168.1.4
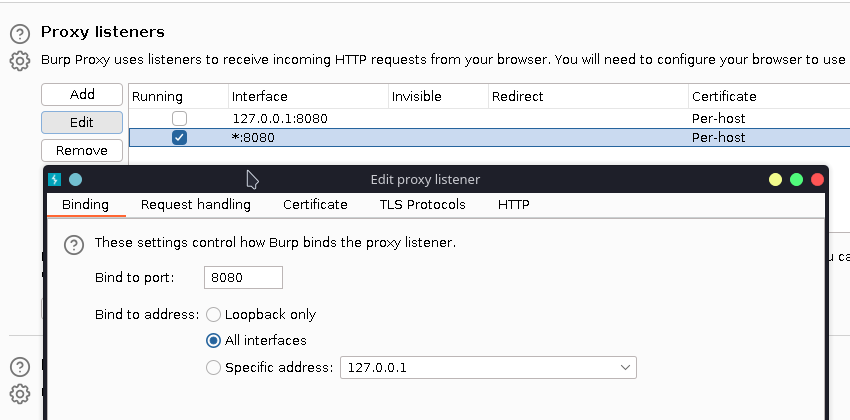
Now, going to Burpsuite, we need create a proxy settings:
Adding a new proxy listener, like the default but with all interfaces.
And it works!
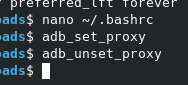
Al right, now we can create alias (because our IP can change) and for confort:
echo $(ip -o -4 addr show wlp4s0|awk '{print $4}' | sed 's/\/.*//g'):8080
Notice that wlp4s0 is my interface, you need know yours with ip a command:
So, we can create an alias with:
alias adb_set_proxy="adb -s 127.0.0.1:6555 shell settings put global http_proxy $(ip -o -4 addr show wlp4s0 | awk '{print $4}' | sed 's/\/.*//g'):8080"
I recommend use -s -geny android ip-:5555 because if you in the future have more devices it can collision.
And so, create an alias for unset the proxy:
alias adb_unset_proxy='adb -s 127.0.0.1:6555 shell settings put global http_proxy :0'
But, why create alias? Just for avoid that button
And let that running, and control the flow with the adb_set/unset_proxy
And, if our IP change, we don’t need waste time with some commands.
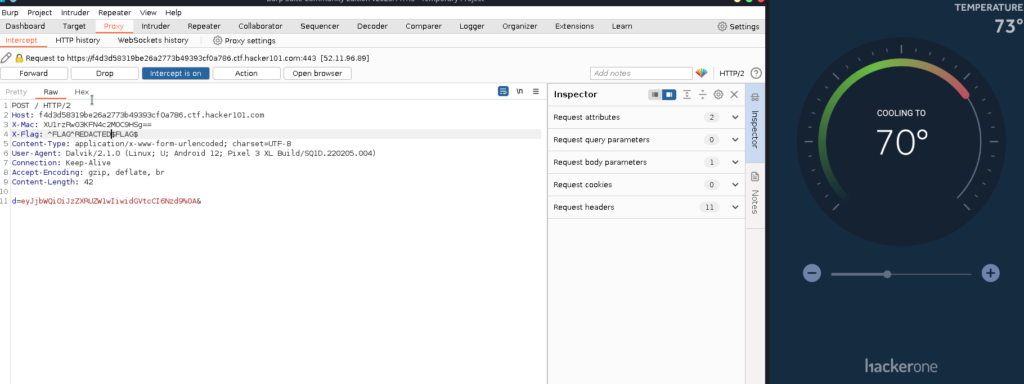
So, now you can install the Play Store in genymotion and inspect the App’s traffic!
Here an example with the H1 Thermostat CTF from Hacker101.


Leave a Reply